Monday, August 27, 2012

Quack and Babes... update

Two of the babies survived.  It rained all day and qhack had them out in it.  I saw her actually using her bill to try and push the babes into a puddle.  One of them had gotten so wet and cold that she left it and when I saw her their was only one with her.  Husband and I searched and finally found the little one soaking wet, cold and near death.  We brought it in and warmed it in the incubator.

Husband and I talked about it and decided that an intervention was needed to save the other one that was still with her.  So we wnt out and he distracted her while I snatched the babe.

It was wet by then so into the incubator for warming it went.


This morning both babes are fine and fluffy......  Sometimes children just have to be removed from the home.....

Sunday, August 26, 2012

Mineral Oil... Is it safe for food???

There has been debate over whether we should use mineral oil to preserve eggs.  Some people feel that because it is a petroleum product, it is not safe... Period... I propose to all of my readers to think about this...

Petroleum products are widespread.  We use them daily and many we do not even realize. The diversity of petroleum products is what has made our society "disposable".  It has also made it so that you can go to the store and buy that cut of meat wrapped in plastic on the cute foam tray, the tin can of vegetables and have ointments to put on wounds.  It depends on the type and the way it is purified that makes it food safe or not.  You should ALWAYS use products that are labeled as being safe for consumption, food grade, food safe or pharmaceutical grade before using it in or near your food.

Mineral oil is a petroleum product.  You must use the one that is labeled USP.  Look at the label.  It will be sold in the pharmacy section and it is labeled for use as a laxative.  It works as a laxative by making your intestines slippery in order to help pass your Bowel movement.  It is odorless, tasteless and totally safe.  Obviously you would not want to drink the entire bottle but used in accordance with the directions it is safe.  Do not use mineral oil products like baby oil.  It has scents and has not been properly purified to make it safe for consumption.


Now lets think about others:
 Anything with a vaseline base is a petroleum product like Chapstick, triple antibiotic ointment (which I hope no first aid kit is without), vaseline (this can be used to saturate guaze and then used to close a sucking chest wound, in case of no medical help).

Anything with a parrifin base is a petroleum product like parrifin wax used to seal jelly jars, suppositories both prescription and over the counter, chewing wax, candles, etc.


A partial list of products made from Petroleum (144 of 6000 items)
One 42-gallon barrel of oil creates 19.4 gallons of gasoline. The rest (over half) is used to make things like:

Solvents
Diesel fuel
Motor Oil
Bearing Grease
Ink
Floor Wax
Ballpoint Pens
Football Cleats
Upholstery
Sweaters
Boats
Insecticides
Bicycle Tires
Sports Car Bodies
Nail Polish
Fishing lures
Dresses
Tires
Golf Bags
Perfumes
Cassettes
Dishwasher parts
Tool Boxes
Shoe Polish
Motorcycle Helmet
Caulking
Petroleum Jelly
Transparent Tape
CD Player
Faucet Washers
Antiseptics
Clothesline
Curtains
Food Preservatives
Basketballs
Soap
Vitamin Capsules
Antihistamines
Purses
Shoes
Dashboards
Cortisone
Deodorant
Footballs
Putty
Dyes
Panty Hose
Refrigerant
Percolators
Life Jackets
Rubbing Alcohol
Linings
Skis
TV Cabinets
Shag Rugs
Electrician's Tape
Tool Racks
Car Battery Cases
Epoxy
Paint
Mops
Slacks
Insect Repellent
Oil Filters
Umbrellas
Yarn
Fertilizers
Hair Coloring
Roofing
Toilet Seats
Fishing Rods
Lipstick
Denture Adhesive
Linoleum
Ice Cube Trays
Synthetic Rubber
Speakers
Plastic Wood
Electric Blankets
Glycerin
Tennis Rackets
Rubber Cement
Fishing Boots
Dice
Nylon Rope
Candles
Trash Bags
House Paint
Water Pipes
Hand Lotion
Roller Skates
Surf Boards
Shampoo
Wheels
Paint Rollers
Shower Curtains
Guitar Strings
Luggage
Aspirin
Safety Glasses
Antifreeze
Football Helmets
Awnings
Eyeglasses
Clothes
Toothbrushes
Ice Chests
Footballs
Combs
CD's & DVD's
Paint Brushes
Detergents
Vaporizers
Balloons
Sun Glasses
Tents
Heart Valves
Crayons
Parachutes
Telephones
Enamel
Pillows
Dishes
Cameras
Anesthetics
Artificial Turf
Artificial limbs
Bandages
Dentures
Model Cars
Folding Doors
Hair Curlers
Cold cream
Movie film
Soft Contact lenses
Drinking Cups
Fan Belts
Car Enamel
Shaving Cream
Ammonia
Refrigerators
Golf Balls
Toothpaste
Gasoline
Americans consume petroleum products at a rate of three-and-a-half gallons of oil and more than
250 cubic feet of natural gas per day each! But, as shown here petroleum is not just used for fuel.
Quoted from http://www.ranken-energy.com/Products%20from%20Petroleum.htm
 You can also add to the list: Teflon in cookware, freezer bags, wax paper, plastic wrap, egg cartons and the list goes on and on.  On the list above I made red anything that we would ingest, would be around our food or be in close contact with open wounds or mucous membranes on our bodies.  That list is a very short one,  it is less than 5% of items that are made from petroleum products.

Once again it depends upon the purifying process as to whether it is food safe or not.  Always use plastics and other petroleum products that are deemed food safe or Pharmaceutical grade. 

If we were to totally get away from petroleum based products.  We would have to grow our own food and never buy anything from the store that is not in glass.  Even our tin cans are coated on the inside with a plastic film.  Our beans would be bought in bulk out of a wooden barrel and fast food would be a thing of the past.  We would be hurtled back to an agrarian society rather than an industrialized society.

Like it or not Petroleum products are here to stay as long as the oil holds out.  We live with them every single day. To be without them would be a TEOTWAKI situation in our present world.  Educate yourself so that you use them properly and be as safe as possible.

Friday, August 24, 2012

Quack and babes

I have a duck.  Her mate was killed about 8 months ago and I had not got replacements until the day olds came 4 weeks ago.  3 1/2 weeks ago my one and only got broody.  Maybe because we had gotten the shipment of day old baby ducks, I have no idea.  But the long and short of it was that she was sitting on a nest of very infertile eggs.  I did not have the heart to let her sit and they never hatch.  So the switcheroo got pulled and I replaced her bad eggs with 8 fertile chicken eggs.

Yesterday they began to hatch.  I know because I found a black one out of the nest half hatched.  I guess it got stuck to her feathers.  I peeled the hardened shell and membrane off of it and put it back in the nest.  When she came back she found the baby and now this morning more have hatched.  Quack is super tame but now she hisses and trys to bite anyone that gets near her babies...

I was able to get a couple pictures
In this one you can see the little black one that I had rescued:
I am not sure how this is going to work when they wont swim with her, but for now she is one proud and happy momma duck!

Thursday, August 23, 2012

Eggs: To Wash or not to Wash... That is the question


In response to several comments when my article about egg preservation hit Modern Survival Blog I am writing 2 posts one on washing Vs Non-washing of eggs.  Many people THINK that if you have clean nest boxes you do not have to wash your eggs.  This is not true!!  No matter how clean your nest boxes or no matter that you have 20 boxes for your hens to lay in you still have a good chance of either Salmonella or E. Coli.  There are a number of research papers floating around the net to help you understand.  I will recite a few though and hopefully the information will help everyone to be safer in handling fresh eggs.

Remember that harmful pathogens (bacteria) invisible to the naked eye.  This means that you can have harmfull pathogens covering everything in your kitchen and you would have no way of knowing it unless you cultured the surfaces.  Bacteria can be introduced to another surface just by touching the contaminated item to the other surface.  This is cross contamination.  Then if you touch something else like your hand or a towel to that contaminated surface then that item becomes infected.  In turn anything that any ionfected item comes into contact with then also becomes infected.  The amount of infected items grows exponetially.  So if you bring in your beautiful eggs and lay them on your counter while you fix a place in your fridge then pick them up you have contaminated your counter and your hands.  If you did not wash your hands before touching the handle on your fridge you have potentially contaminated the fridge handle and those bacteria can be transferred to anyone elses hands that touches the fridge and then everything that they in turn touch.

Salmonella can live inside and outside the chicken.  Not just inside the intestines.  It can actually be carried on the feet and on the feathers of the chicken.  It does not magically only appear in feces and not be anywhere else.  Here is an excerpt from the CDC that shows it can live on the feathers and the feet:
Live poultry may have Salmonella germs in their droppings and on their bodies (feathers, feet, and beaks) even when they appear healthy and clean. The germs can also get on cages, coops, hay, plants, and soil in the area where the birds live and roam. Additionally, the germs can be found on the hands, shoes, and clothing of those who handle the birds or work or play where they live and roam. http://www.cdc.gov/Features/SalmonellaPoultry/

Now lets think about this information... A chicken may have salmonella on its feathers when it sits on the nest those feathers are touching the nest and no matter how clean it looks it is still contaminated.  My chickens all have a favorite nest.  There are 6 nests and only two ever have eggs in them.  So then the next chicken gets into the nest and that chicken gets it on their feathers and on and on.  Guess what has happened to those beautiful "clean" eggs that are also in that nest.

It can also actually live in the Ova of a chicken Here is an excerpt from a documented research:
Salmonella were isolated from the ceca of 161 chickens, the cecal tonsils of 148 chickens, the organ pool of 150 chickens, and the ovary-oviduct pool of 110 chickens.  Avian Diseases © 1993 American Association of Avian Pathologists

This means that the salmonella was present in the ovaries of the chickens prior to it laying an egg.  This in turn means that the egg was contaminated with salmonella no matter how clean it looks to the naked eye.

Salmonella is not a problem only in commercial chickens.  If it is a live chicken then the chance of salmonella is there no matter what kind of chicken or where it lives.

There are literally hundreds of research papers with scientific evidence documenting the need to wash eggs.  I use antibacterial dish soap to wash mine as it is effective and non-toxic.  You must replace the bloom that you wash off in order for the eggs to keep. I use mineral oil. 

The old adage of it's better to be safe than sorry fits here....  Especcialy in a survive or die situation where medical treatment may not be readilly available.

Sunday, August 19, 2012

Seperating out the cream

My goats give delicious creamy milk, but the cream does not float to the top as easily as does cows cream.  If you dip it off you would only get about 1/2 cup per gallon.  By using a centrifuge type seperator I get about a pint or a little more per gallon of thick wonderful cream.  It makes great butter, whips into stiff peaks and makes creamy ice cream.  I looked at many different kinds before settling on the one that I have.  Now a days most people just go to the store and buy their cream in a nice little carton.  At $5-$7 a quart I think I will pass.  Their butter most times comes in the form of whipped oil with alot of chemicals and artificial flavors... Again I will pass.  Store bought ice cream is a big No No around our house as my stepdaughter is allergic to the emulsifiers they use.  Her face swells up and she looks like a puffer fish.

I looked at many different kinds.  The good ones that are made from metal now cost close to $1000.  The more inexpensive ones are made from plastic.  As if that will last very long.... I finally settled on one that I bought off of eBay.  It was an antique the guy was not sure if it worked because he had never gotten around to using it.  I took a chance and paid $175 for it shipping and all.  I got it here, cleaned up the insides, replaced an O-ring and filled it with oil (Gun oil because I keep that in gallons).  It worked like a charm.  The trick was learning how to time 60 cranks per minute.  Too fast or too slow and your cream does not seperate out right. Too slow causes the cream to be thinner more like half and half and too fast causes it to not get it all.  It has an adjustment inside so that you can adjust for the desired thickness of your cream.

My seperator is a Sears "economy model" sold in their catalog from 1906 to 1942.  Isn't it pretty mounted on my island top?
The milk must be heated to 100 degrees in order to be run thru the seperator.  The seperator has to be warmed up by running hot water thru it first.

First I put the milk into a double boiler system to heat it up to the correct temperature of 100 degrees
Then I pour it into the prewarmed seperator bowl. Begin to crank to get it to the right speed, turn on the flow and then out flows the seperated milk and cream
The white bowl is catching the milk and the red catching the smaller stream of cream.  This time I harvested light cream for making ice cream.  It is set to the consistency of half and half so I can pour it straight into the ice cream maker.

I use the skim milk for making itallian cheese like Mozzarella and Parmasean.

The fun part is cleaning it up.  There are a ton of internal parts to it!!!

Thursday, August 9, 2012

Parmasean cheese


This is the chronicle of my second attempt at parmasean cheese.  The first is hanging in my daughters basement at this time.  We won't know if it turned out right until May so I am keeping my fingers crossed.  To this date I have made: Mozzarella (It turned out awesome as string cheese but did not melt, still working on that issue), cheddar (one try, it is hanging in the basement), parmasean, Ricotta and Chevre (this one is great for cheeseballs).  I always thought making cheese would be "hard".  I would not classify it as hard but instead I would classify it as tedious.  I apologize for forgetting to take pictures of a few of the steps.  It does take special equipment that won't be found in the common kitchen.  The cultures, rennet, etc. can be bought at many cheesemaking outlets.  I like the website www.cheesemaking.com They have lots of step by step pictures and LOTS of recipes.  All of my cheese is made with Goat milk from my girls.  Since Goats milk is high in Lipase naturally I do not add it to the recipe.

First we have to skim the milk, pasrmasean uses skim milk, NOT whole milk.  I save the cream for whipped cream, icecream and butter.  I have an antique cream seperator that works beautifully.  Eventually I will remember to document the process, but for now you warm the milk and then crank it thru.  The cream drizzles out the top spout and the skim milk comes out the bottom.  It is an old sears model that was made sometime between 1902 and 1940.  I cleaned it up and oiled it and works as good as the day it came from the catalog.

First we gather our supplies
A sterilized spoon for stiring, a thermometer abd the package of Thermophillic culture.

 Then we sterilize the pot.  Do this by placing some water in the pot and bringing it to a boil.  Then pour out the water and leave the lid on until you are ready to pour in the milk.

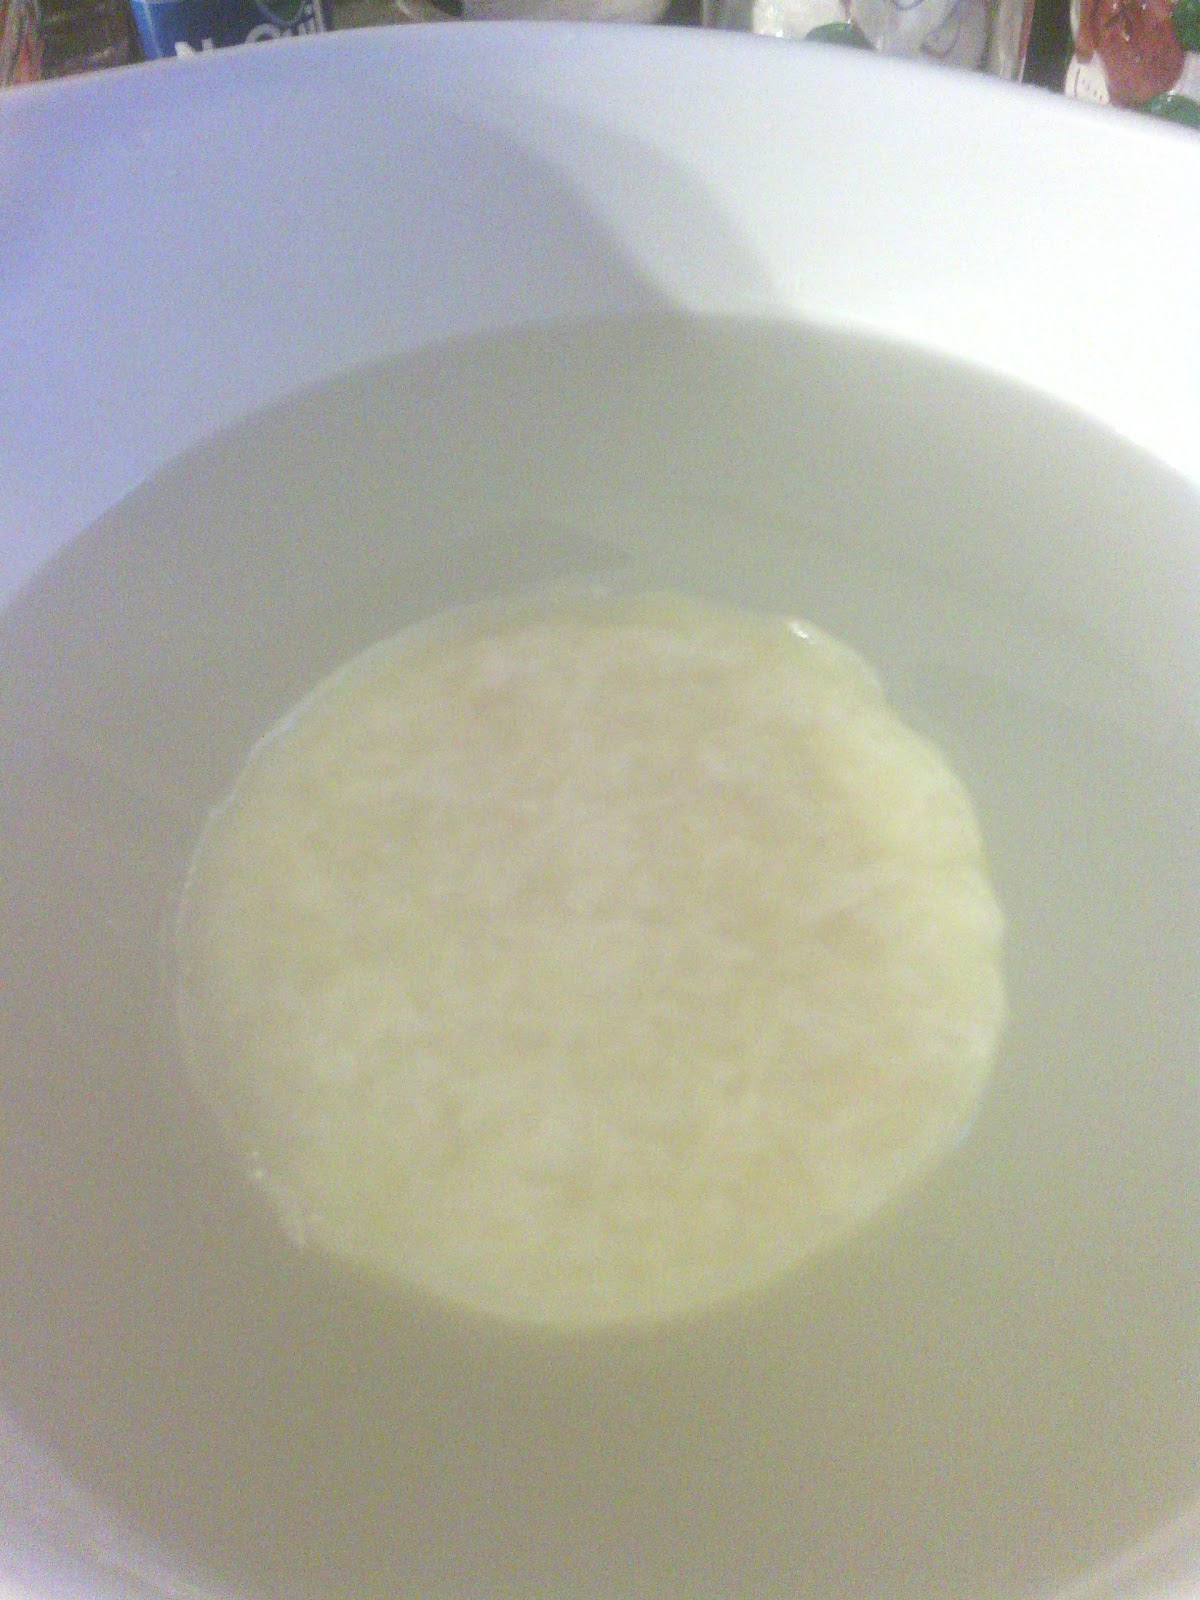
Then we put 2 gallons of our skim milk in a thick bottomed pot.  We heat it to 90 degrees.

Sprinkle the culture on the top, stir it in and then put the lid on and let it sit for about an hour.
Then you get the Rennet out of the fridge
Add the reccomended amount of yours to set up 2 gallons.  Mine is 1/8th of a teaspoon to 1/4 cup cool water.  Then drizzle it into the milk.  Hopefully it is still at about 90 degrees.  Stir it well for about 2 minutes then put on the cover and let it sit again for about 45 minutes.

After 45 minutes test it for a "clean break" To do this insert your clean bare finger into the curd and pull up with your finger tip.  The curd should seperate cleanly and not be mushy.  Also you will see greenish whey around the edges of the pot.

 If it does not break clean then let it sit undisturbed a few more minutes.

When it is set then using a long knife cut into small cubes about 1/4th of an inch.  It is really hard to do the cross wise cuts and I always end up scooping up a handfull and continuing to cut it that way.  We are not suposed to crush the curd squares only cut them.
Once we get them all cut up then we have to "cook the curd" by raising the temperature VERY slowly (2 degrees every 5 minutes) to 100 degrees.  I turn my electric stove all the way down and that is close to right.  Stir it frequently to keep the curds from clumping.  Then contiue to raise the temp to 124 degrees a little faster.  I put my stove on 1 for this step.
When it is to 124 degrees it is done.  The curds should be little and hard.  When you bite one (they have no taste, so it is not "yucky") they squeak on your teeth.

(Sorry here is where I forgot the pictures.)
Pour the whey off without pouring out any curds.  (You can make ricotta from this or the dogs love it)
Then scoop the curds into a cheesecloth lined press.  Press it lightly for 15 minutes then take out the wheel and turn it over (you will have to peel off the cheesecloth and replace it so that the cloth is now over what was the top.  Put it back into the press with a little more pressure for 30 minutes.  Then repeat the process of turning it over.  Do this agian increasing the pressure each time and this time let it sit for about 2 hours.  The last time you put the press at about 20lbs of pressure and let it sit for 12 hours. 
When it is done then take out your wheel and peel off the cheesecloth. 

Make a "saturated" salt brine.  In otherwords more salt than the water can absorb.  About 3 cups of Non-iodized salt to 2 quarts of water.
Put your wheel into the brine and let it float for 24 hours

After the 24 hours is over take out, pat it dry and mark the date on it.  I used a crayola washable nontoxic marker.
Let it sit in a cool dark place for 10 months, like a basement.  You will have to turn it over every few days if it is on a shelf.  My daughter made a net to hang it so that it gets air all the way around.

So in May I will see if it turns out good