Showing posts with label goats. Show all posts

Tuesday, September 24, 2013

King Jack... Too Funny

We have several chicken feeders that came out of an old chicken house.  I use them for all kinds of things.  Well one got drug out into the yard and when my hubby was mowing he threw it over the fence into the goat pen figuring it would keep them busy.  Well busy it did.  My billy goat decided to crown himself!
I have no idea how he managed to get it on top of his head so perfectly, but he did!

Now we just need a couple painted tennis balls for the tips of his horns and some garland and we can have a Christmas decoration!

Saturday, August 24, 2013

Trimming Goat Hooves

Goats can be persnickety creatures.  They are smart and they are stubborn.  And mine HATE getting manicures!

I have been asked how to trim goat hooves.  Well here is how I do it. Goats have a outer hoof like a fingernail and they have a soft inner hoof for gripping.  If they were living with rocks the rocks would keep the outer hooves rubbed down.  But my pasture has no rocks so I have to trim them.  They also have a heel part that can grow up. 

First put them on a stand with some grain to keep them busy,
Then you will need a pair of trimmers.  They need to be sharp and pointy.  You can either go out and buy a pair of hoof rot trimmers which was kind of pricey or a nice pair of rose bush trimmers will work also.
In the next picture you will see the hoof which the outer covering has grown up and curved over.  That is what needs to be trimmed.  Also the heel gets a little long so I will trim that down also.


The next picture shows the hoof after the trim
You can see the light colored parts where I trimmed off the excess.

If you cut too deep you can hurt them and also cause bleeding the same as cutting your own nails too short.  So go easy and just take off a little at a time.  If you start to see any pink then stop.  Mine like to fight and argue.  Usually grain or soft words help.  I also will sit next to them and lean my back up against them while I do it.  This seems to have a calming effect on my girls.

I usually trim their hooves about every 3 months.


Saturday, March 23, 2013

Blessed with Girls!!! Cute Pics

I love my goats!!!  They are smart, funny, Bossy and give us a supply of fresh yummy milk.  So far two of my darling ladies have kidded.  I have ended up with 3 does and one little buckling.  The first two Peter and Tinkerbell are now 5 weeks old.  They jump on me every time I go out there.  Now we have 2 more both are precious little girls.  Yes we are nerds (according to my teenage step-daughter) they are named Megan and Jenny for the Delaney sisters off of Star Trek Voyager.  The momma is full blooded Nubian and their Daddy is fiull blooded Alpine so one ended up with floppy Nubian ears  (that one is Jenny) and the other with some funky half up half down ears (that one is Megan)


Jenny has the floppy ears and Megan has the straight ears

Monday, February 11, 2013

It's a Girl.... And a Boy !!!!!!!

Our very first goat babies delivered today.  Dot is the proud mama of two darling kids.  One little girl and one little boy...
 We are very proud!!!!!!!


Tuesday, January 15, 2013

Goat Dilemma

I have three dairy goats.  This fall they came into heat and were bred by our darling little buck.  In December I went about drying them off so that their bodies could be ready for the new baby and freshening.  I cut back their feed and cut back on milking first to once a day and then to every other day.  Within 2 weeks 2 of the girls were totally dry.
BUT.... Ginger will not dry off.  Every other day when I go out her udder is full and tight.

She continues to give me 1/2 gallon every other day.  Maybe she is not pregnant??? When I feel her tummy in the stand in front of her udder it is just as hard as can be.  She has a wide tummy, but then she loves her treats...  I tried to feel for fetal movement and I can feel movement but maybe it is just her Rumin...  Also after she was bred she never came back into heat...  I guess when February comes and goes which is when she is due we will know for sure if she really got bred or if for some reason she is faking and it did not take....

Thursday, October 4, 2012

Update on Quacks babes...An orphan chicken and a blind goat

The chickens that my duck hatched did not fare so well.  Only one has survived and because it is an "only child"  it is spoiled, his name is "Bitty Bird" thanks to my 4 year old grandson. I had to take the two remaining chicks away from her after she almost drowned them in a puddle, only one of them survived.  He lives in our barn with our blind goat.  Yes thats right BLIND goat Sonny.  Some friends of ours are going out of the country so we adopted their pet goat who is totally blind.

The two have become friends.  It is almost a symbiotic relationship.  The chicken sleeps on top of the goat.  He chirps if another chicken or something gets too close to the goat and if he starts chirping Sonny the goat gets up.  Every time I go out to the barn and Sonny is laying down, Bitty will be on top of him.  I have seen at times when Bitty is being chased by another chick he will fly up and sit on Sonny's back and go for a ride.
Bitty bird on top of Sonny

 
They share a feeder.  I tried to take a picture but Sonny moved before my phone could snap it.


This chicken has become so tame it is almost irritating.  If you are out in the barn and sit down to take a break he will jump up onto your lap and then up to your shoulder he goes.
Bitty taking a break

Bitty standing guard
One time I was out in the barn and a bigger chick started picking on Bitty.  He flew up caught the back of my shirt and climbed all the way to my shoulder then started chirping loudly in my ear like he was telling on that other chick.

Sunday, September 9, 2012

HELP... With Goat horns... Any Suggestions???

Okay I am at a loss with my 6 month old Alpine doe.  We got her when she was 3 days old and bottle fed her.  Needless to say she is SPOILED and a big BRAT!!!  She and Jack were our first and we had no idea how to disbud them or the equipment to do so.  I have since learned how and have gotten a kid box and a X50 disbudding iron for our next baby.  Yes I have learned my lesson...

Here is my dilemma.  We have red wire field fencing.  Her horns are about 6 inches long and very slender.  She is getting her head into the 3rd from the bottom row of squares and then gets stuck and I have to push and pull the wire to get it open enough to get her head out.  Then the idiot walks down the fence 5 feet and sticks it right back in!!!!! This happens multiple times a day EVERY day!!! Today she got her head stuck on the neighbors side of our property and of course he was scared it would hurt her.  She really seriously thought God said Trains when he said line up for Brains and she did NOT want to go for a ride!!!!

I have read about using castrating bands to remove the horns, but I am not comfortable with doing it because I am afraid I will hurt her.  I have an elastrator and I have green bands I just need to hear from someone who has actually done this, how to and what the risks are.

If any of my readers have experience in removing or trimming horns and can give me good advice OR if anybody has any ideas what to do I would love to hear from you...  Just leave it in comments.  I moderate all the comments so if you do not want it posted for others to see just start the comment out with "do not post" and I will be more than happy to read and converse via email and NOT post the comment/email on the blog.

This is what I did for the time being to keep her head out of the fence... I now have a goat that looks as stupid as she acts....

Please and Thank you......

Sunday, August 19, 2012

Seperating out the cream

My goats give delicious creamy milk, but the cream does not float to the top as easily as does cows cream.  If you dip it off you would only get about 1/2 cup per gallon.  By using a centrifuge type seperator I get about a pint or a little more per gallon of thick wonderful cream.  It makes great butter, whips into stiff peaks and makes creamy ice cream.  I looked at many different kinds before settling on the one that I have.  Now a days most people just go to the store and buy their cream in a nice little carton.  At $5-$7 a quart I think I will pass.  Their butter most times comes in the form of whipped oil with alot of chemicals and artificial flavors... Again I will pass.  Store bought ice cream is a big No No around our house as my stepdaughter is allergic to the emulsifiers they use.  Her face swells up and she looks like a puffer fish.

I looked at many different kinds.  The good ones that are made from metal now cost close to $1000.  The more inexpensive ones are made from plastic.  As if that will last very long.... I finally settled on one that I bought off of eBay.  It was an antique the guy was not sure if it worked because he had never gotten around to using it.  I took a chance and paid $175 for it shipping and all.  I got it here, cleaned up the insides, replaced an O-ring and filled it with oil (Gun oil because I keep that in gallons).  It worked like a charm.  The trick was learning how to time 60 cranks per minute.  Too fast or too slow and your cream does not seperate out right. Too slow causes the cream to be thinner more like half and half and too fast causes it to not get it all.  It has an adjustment inside so that you can adjust for the desired thickness of your cream.

My seperator is a Sears "economy model" sold in their catalog from 1906 to 1942.  Isn't it pretty mounted on my island top?
The milk must be heated to 100 degrees in order to be run thru the seperator.  The seperator has to be warmed up by running hot water thru it first.

First I put the milk into a double boiler system to heat it up to the correct temperature of 100 degrees
Then I pour it into the prewarmed seperator bowl. Begin to crank to get it to the right speed, turn on the flow and then out flows the seperated milk and cream
The white bowl is catching the milk and the red catching the smaller stream of cream.  This time I harvested light cream for making ice cream.  It is set to the consistency of half and half so I can pour it straight into the ice cream maker.

I use the skim milk for making itallian cheese like Mozzarella and Parmasean.

The fun part is cleaning it up.  There are a ton of internal parts to it!!!

Thursday, August 9, 2012

Parmasean cheese


This is the chronicle of my second attempt at parmasean cheese.  The first is hanging in my daughters basement at this time.  We won't know if it turned out right until May so I am keeping my fingers crossed.  To this date I have made: Mozzarella (It turned out awesome as string cheese but did not melt, still working on that issue), cheddar (one try, it is hanging in the basement), parmasean, Ricotta and Chevre (this one is great for cheeseballs).  I always thought making cheese would be "hard".  I would not classify it as hard but instead I would classify it as tedious.  I apologize for forgetting to take pictures of a few of the steps.  It does take special equipment that won't be found in the common kitchen.  The cultures, rennet, etc. can be bought at many cheesemaking outlets.  I like the website www.cheesemaking.com They have lots of step by step pictures and LOTS of recipes.  All of my cheese is made with Goat milk from my girls.  Since Goats milk is high in Lipase naturally I do not add it to the recipe.

First we have to skim the milk, pasrmasean uses skim milk, NOT whole milk.  I save the cream for whipped cream, icecream and butter.  I have an antique cream seperator that works beautifully.  Eventually I will remember to document the process, but for now you warm the milk and then crank it thru.  The cream drizzles out the top spout and the skim milk comes out the bottom.  It is an old sears model that was made sometime between 1902 and 1940.  I cleaned it up and oiled it and works as good as the day it came from the catalog.

First we gather our supplies
A sterilized spoon for stiring, a thermometer abd the package of Thermophillic culture.

 Then we sterilize the pot.  Do this by placing some water in the pot and bringing it to a boil.  Then pour out the water and leave the lid on until you are ready to pour in the milk.

Then we put 2 gallons of our skim milk in a thick bottomed pot.  We heat it to 90 degrees.

Sprinkle the culture on the top, stir it in and then put the lid on and let it sit for about an hour.
Then you get the Rennet out of the fridge
Add the reccomended amount of yours to set up 2 gallons.  Mine is 1/8th of a teaspoon to 1/4 cup cool water.  Then drizzle it into the milk.  Hopefully it is still at about 90 degrees.  Stir it well for about 2 minutes then put on the cover and let it sit again for about 45 minutes.

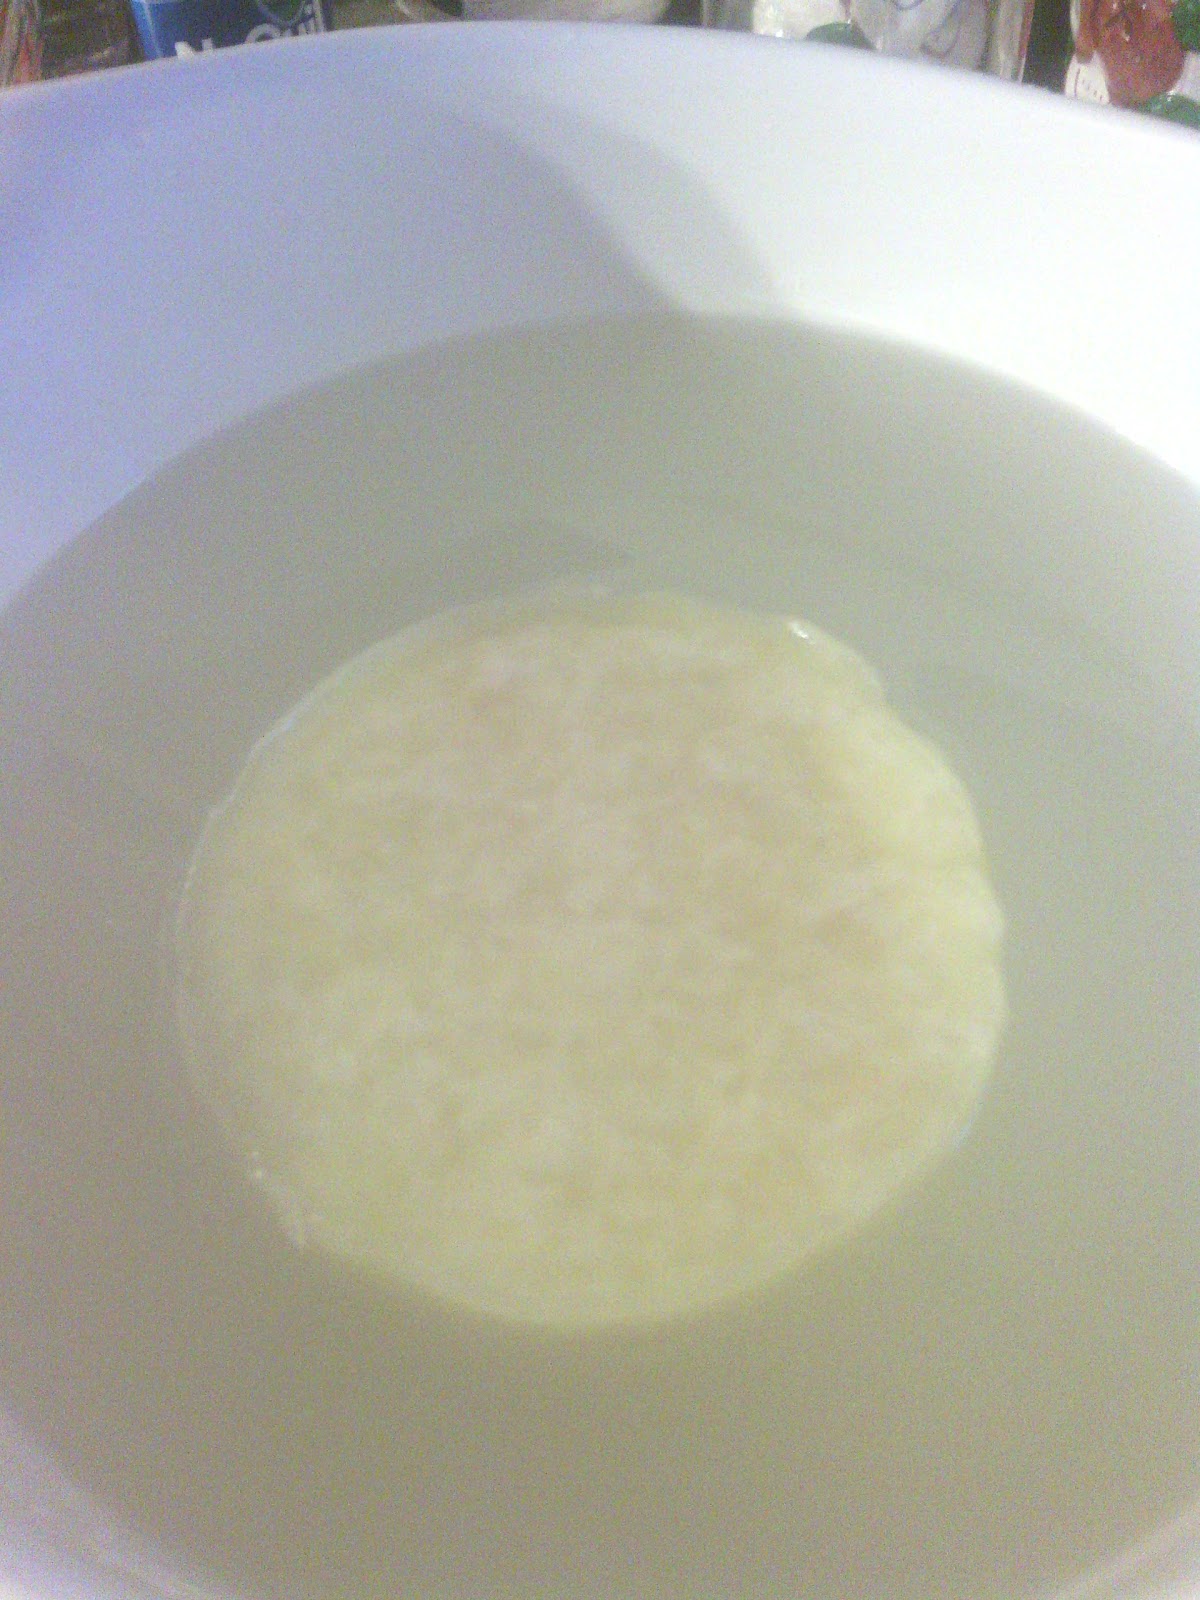
After 45 minutes test it for a "clean break" To do this insert your clean bare finger into the curd and pull up with your finger tip.  The curd should seperate cleanly and not be mushy.  Also you will see greenish whey around the edges of the pot.

 If it does not break clean then let it sit undisturbed a few more minutes.

When it is set then using a long knife cut into small cubes about 1/4th of an inch.  It is really hard to do the cross wise cuts and I always end up scooping up a handfull and continuing to cut it that way.  We are not suposed to crush the curd squares only cut them.
Once we get them all cut up then we have to "cook the curd" by raising the temperature VERY slowly (2 degrees every 5 minutes) to 100 degrees.  I turn my electric stove all the way down and that is close to right.  Stir it frequently to keep the curds from clumping.  Then contiue to raise the temp to 124 degrees a little faster.  I put my stove on 1 for this step.
When it is to 124 degrees it is done.  The curds should be little and hard.  When you bite one (they have no taste, so it is not "yucky") they squeak on your teeth.

(Sorry here is where I forgot the pictures.)
Pour the whey off without pouring out any curds.  (You can make ricotta from this or the dogs love it)
Then scoop the curds into a cheesecloth lined press.  Press it lightly for 15 minutes then take out the wheel and turn it over (you will have to peel off the cheesecloth and replace it so that the cloth is now over what was the top.  Put it back into the press with a little more pressure for 30 minutes.  Then repeat the process of turning it over.  Do this agian increasing the pressure each time and this time let it sit for about 2 hours.  The last time you put the press at about 20lbs of pressure and let it sit for 12 hours. 
When it is done then take out your wheel and peel off the cheesecloth. 

Make a "saturated" salt brine.  In otherwords more salt than the water can absorb.  About 3 cups of Non-iodized salt to 2 quarts of water.
Put your wheel into the brine and let it float for 24 hours

After the 24 hours is over take out, pat it dry and mark the date on it.  I used a crayola washable nontoxic marker.
Let it sit in a cool dark place for 10 months, like a basement.  You will have to turn it over every few days if it is on a shelf.  My daughter made a net to hang it so that it gets air all the way around.

So in May I will see if it turns out good

Sunday, May 6, 2012

Bottle feeding baby goats: Jack and Sookie

On March 6th 2012 I bought 2 baby goats that were both just a couple days old for $25 a piece.  Since I am on a really tight budget I had to figure a way to get goats without paying $300 for a grown doe. They are Alpine goats as I plan on producing milk so that I can make my own dairy products.  Although I think Jack (the brown one) may have a touch of Nubian in him because his ears flop down just a touch and he looks like the flying nun.  They came from a dairy herd which in the horse trailer that I picked my babies out of there were Nubians, Alpines and LaMancha's.  I also believe Jack may have been a day or so older than Sookie because he was much steadier on his feet and bigger than she was.

The man that I bought them from told me I should buy goat milk replacer from the feed store and at the same time warned me that baby goats just die and he had never been able to keep one alive.  They were still wobbly on their feet.  We had to teach them what the baby bottle was.  We used a regular baby bottle like for human babies and then I split the nipple with a knife about 1/4th of an inch so that the milk would flow easier.  Because he had told me that they die easy I did research online and found many sites that said that the milk replacer kills baby goats.  So I used regular Vitamin D store bought whole milk, I figured that if baby cows could drink it then why not baby goats.  They started out drinking about 8 ounces every 4 hours.  The first few days I got up around the clock and fed my babies. In about two weeks they were up to drinking 18 ounces of milk each about 5 times a day.  In the beginning 2 weeks I kept them in the house in my laundry room so I could keep an eye on them worried that they would just keel over like the man had told me.  At 2 weeks I built them a small pen outside the back door and put them out there during the day.  They began nibbling on the grass and eating the dirt....  At about 3 weeks I built them a small house so they could stay in the pen at night also.
At about a month old I introduced grain to them.  At first it was my homemade Granola and boy did they love that!  By a 5 weeks old they were drinking the 18 ounces of milk 4 times a day and Jack wanted more.  They were eating grass and grain. They had stripped the grass in the pen down to nothing so I put collars on them and tied ropes to the collars and let them be out in the field to graze.  Cememnt blocks tied to the other end of the rope.  I began decreasing them down on the number of feedings first to 4 times then to 3 times then to twice a day then only at night when I put them back into their pen. Then down to only 1 bottle at night and then the next step was down to no bottles at night.  Now they only get their grain when they go back to their pen.  I can unhook them from the ropes and they will run to their pen because they know a treat is waiting for them.  I gave them their CD + T vaccination at 6 weeks old.  They did not like the needles.  They also got a dose of wormer.
They are now 2 months old and completely weaned.

This is Jack
And this is Sookie (she would not stand still for the camera)

They are both healthy and growing as fast as the weeds.  I hope to have a fence soon so that I can quit taking them to the ropes every morning.